NOTE: This is a guide for working within the updated HubSpot editor. If you still prefer to work in the older version, you can check out this blog post for more relevant screen shots and instructions
The HubSpot COS is a Content Management System that makes it easy to publish content. But sometimes when you’re just starting out, you might not think that easy is the right way to describe it. Let us walk you through some of the basic changes you can make so you can get started.
-
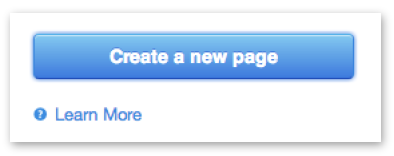
Go into your Site Pages from the Content and click the “Create a new page” button.
-
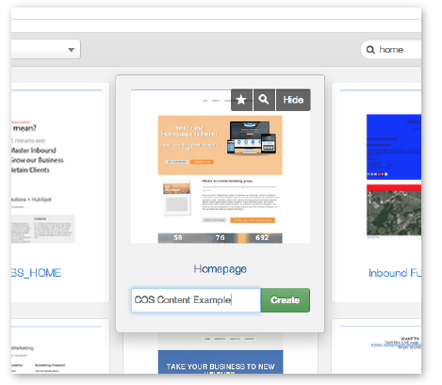
Search through your available templates and choose which you would like to create. For this example, we will use our “Inbound Responsive II Homepage.”
-
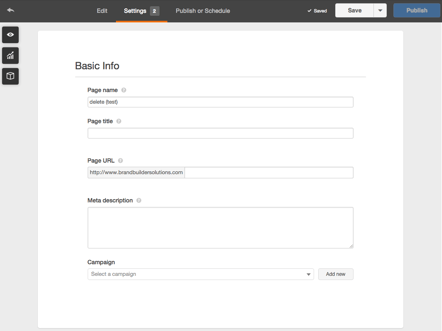
Give your page a name and click the Create button to enter the content editor. Go to the settings tab to add a page title and URL to your new page.
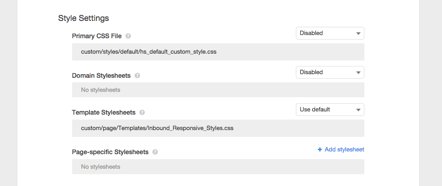
Stay in the Settings and scroll down until you see “Style Settings.” This is where you check if the appropriate stylesheet is attached for your page.
-
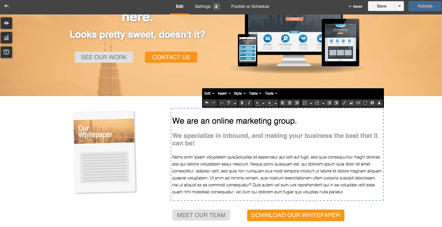
Click on the Edit tab at the top to begin updating your page. Simply click where you want to type to edit your text. You can adjust colors, sizes, fonts, and more with the pop-up toolbar options.
-
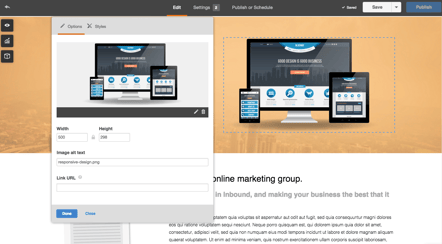
Image Modules allow you to change or update images and they only allow an image to be placed in them. To edit your images, just click on them. A window will pop up where you will be able to choose a new image or update its styles.
-
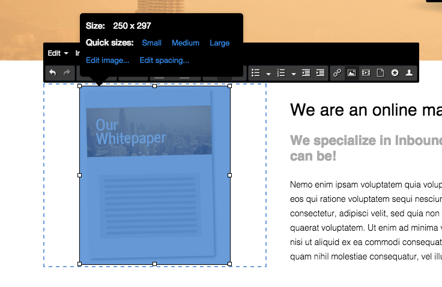
Rich Text Modules are more than just text editors. Below is an example of an image being placed in a Rich Text Module. These modules can be used for text, images, or calls-to-action.
-
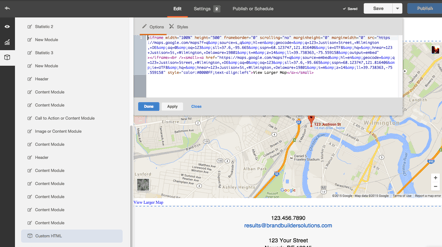
Some templates contain HTML modules that allow you to include custom HTML snippets to your page. In this template, there is a Custom HTML module section for an embedded Google Map to show your visitors where you are located.
To put in your own map, open the Edit Modules menu on the left, scroll down until you see the Custom Menu module, then copy and paste the embed code for your location into the module. Now you have your own map, however, you may notice that the proportions are off. In the code snippet, locate the ‘width’ and replace the default value with “100%.” This will make your Google Map stretch all the way across the screen.
-
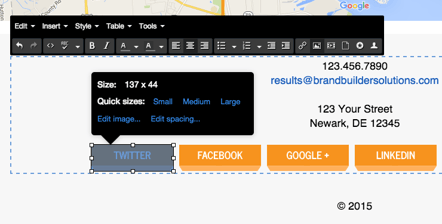
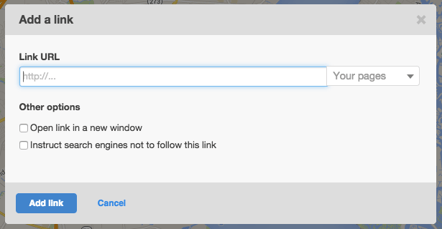
Linking social media icons. In our templates, we like to go that extra mile and give you some useful bonus content. One of these little extras is our custom Social Media icons. Simply delete the icons you do not need or want and then use the chain icon on the toolbar to link the rest to your social profiles
