You may have been making changes to your stylesheets and not seeing them show up when you go to preview the site. This can be caused by the stylesheet not actually being attached to the page. This can happen when HubSpot delivers you the template or when you clone a page and stylesheet. Don't worry, getting your stylesheets attached is a very easy process and only takes a few steps.
-
Open up the Design Manager. To do this, in the top nav bar, click the Content dropdown menu, then choose Design Manager
-
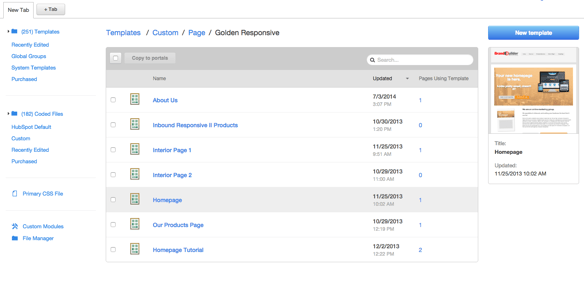
From the left side menu, find and click on the Purchased link.

-
You should see the template listed. Click on it to open the template.
-
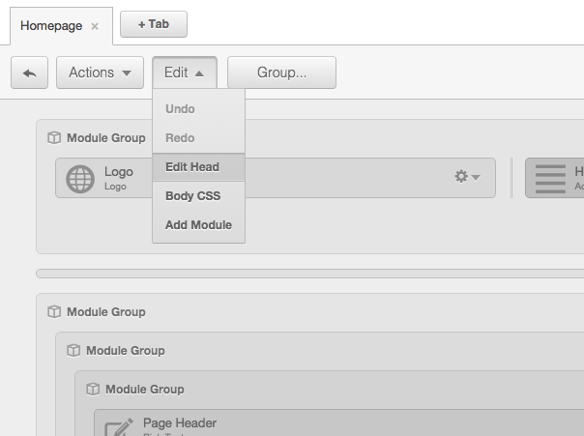
At the top, click Edit, then choose Edit Head from the drop down menu.

-
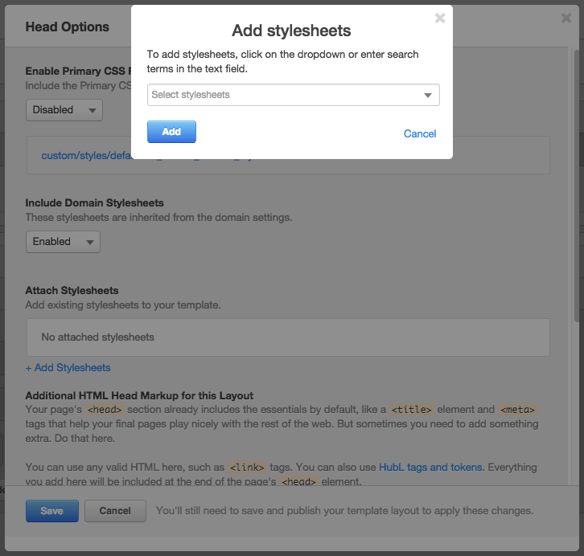
Click the Add Stylesheet link and select the stylesheet that is related to the template you’ve purchased. You can pick from the list of all of your stylesheets or just search for the name of the file. After you are done, make sure ‘Enable Primary CSS File’ and ‘Include Domain Stylesheets’ options are set to ‘Disabled’. Then click Save.

-
Click on Done then the Publish Changes button and your website should start updating.


