Before reading this guide, you may want to watch the tutorial video at the end of this post!

It's no secret that Calls to Action are one of the most important parts of your Inbound Marketing strategy. If you are a HubSpot customer, you know that the standard HubSpot Calls to Action are great, but sometimes you want to add a little extra "Oomph" to your site. If you're not yet a HubSpot customer, you may be struggling to put together professional Calls to Action for your websites and emails.
Building basic, professional Calls to Action is as easy as using Google Docs 'Drawings'! This is a FREE application that is available to anyone with a Gmail account. Let's take a look at the process together:
1. The Basics
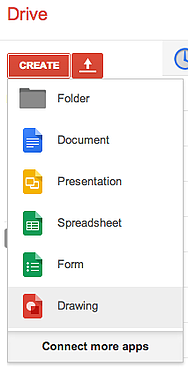
Start by creaing a new Drawing in Google Docs. If you have a Gmail account, you can do this! Go to your Google Drive, and click the red "Create" button. You will see a drop-down menu. Click 'Drawing' to make a new CTA.
You need to decide what shape and color you want your calls to be. Click on the "Shapes" tool in your main menu. Choose which type of shape you want your call to be, and then just click and drag to create it on your canvas. Be sure to place your CTA in the top left hand corner. This will make cropping your Call to Action as easy as possible.
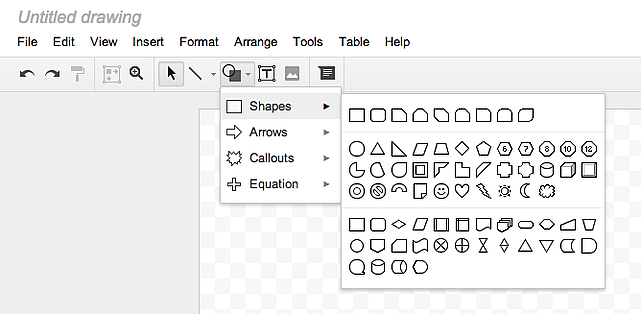
After your shape is rendered, adjust the color of the fill and outline by clicking on it and selecting your color options from the main menu.
2. The Text
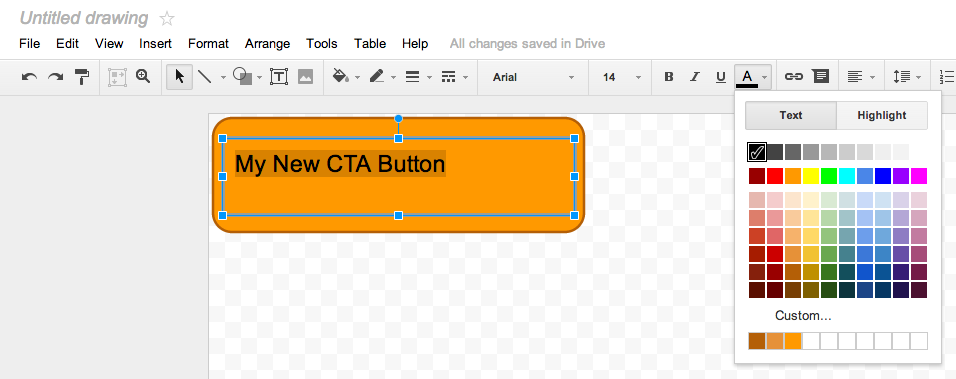
If you've downloaded our free CTAs, here is the point where you jump in (after placing the CTA background you like into the Google Drawing, of course. Just click 'Inset' --> 'Image' to add the CTA background you wish to use). Click the 'Text Box' option in your main menu and then drag inside your new shape to build a text box. Insert and format the text you wish to appear on your CTA. Remember to use clear, concise, and actionable words to make your call most effective.
3. Cropping Your Image
To Crop your image, look at the bottom right hand corner of your canvas (aka, the gray checkered background you've been working on). Using your mouse, click and grab the corner of this canvas. It will have a few diagonal lines on it. Drag the canvas around your Call to Action so it is snug. This will crop your image, and make it easy to place on your website.
4. Saving Your CTA for Use
You need to group your new CTA before saving it so that it can be united as one. Select all the parts of your call, then click "Arrange" --> "Group".

We're almost ready to use this beautiful new CTA! The last step is to click 'File' --> 'Download As...' --> 'PNG Image (.png)'. This will download your new CTA with a transparent background, so that you may place it anywhere on your site.
5. Use Your New Call to Action!
Congratulations! Your new CTA is saved and ready to go. Just Upload your file, link it where you want to go, and you have an Inbound Marketing savvy call to action that is sure to get clicked. Already a HubSpot Customer? Be sure to upload your new image as a new Call to Action, rather than just a linked picture, so that you can track it and see its performance metrics!
Watch the Video:
We hope you've enjoyed learning how to make your own CTAs in as simple an image editor as Google Drawing. Have your calls been effective? We'd love to hear how they work for you-- leave us a comment below!
Remember, your Inbound Marketing is only as good as your website, so click here to learn how to optimize your homepage for Inbound Marketing!

