If you have downloaded one of our custom modules from the marketplace and aren't sure how to add it to your template, simply follow the instructions below for a quick tutorial.
In this example, we are adding a Reading Progress Bar module to a blog template.
Step 1:
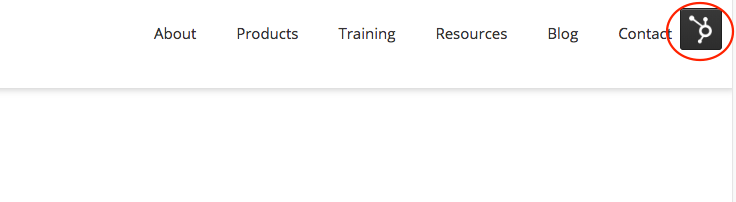
Open the template you would like to add this module to in the Design Manager. An easy way to get there if you are logged into HubSpot already, is to go to that page and click the HubSpot sprocket icon in the top right corner, then click Edit Template in the drop-down.
Step 2:
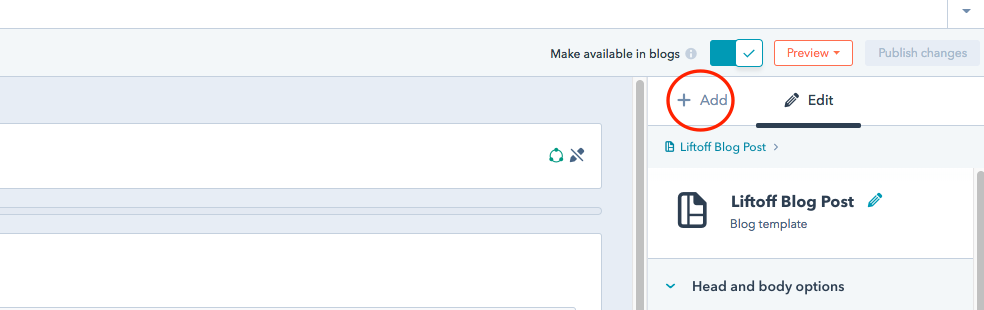
Once you are in the template, you are going to click the Add link in the sidebar on the right side.
Step 3:
Now you will see modules to choose from and a search bar. The quickest way to find your module is using the search bar. For one of our modules, search "BBS".
Step 4:
Once you have found the module, you are going to click and hold on it, and drag it over to the left onto the template, to the location where you want it to be. The areas where you can drop the module will highlight blue. In this example, we are adding the BBS Reading Progress Bar to the top of the template.
Step 5:
After adding the module to the template in the desired location, you must click the orange Publish Changes button in the top right corner.
Congratulations! If you refresh the page using the template you just updated, you should see the module you just added.
You can see an inventory of all of our listed custom module here.
